Every other week, Anna Hezel talks about the innovations, decorations, and other quiet touches that make a party memorable.
Today: Get your candles into party gear with just some parchment paper, glue, and a pair of scissors.

If you're anything like me, you spend the week before a big party walking in the same circles around your home, searching desperately for new ways to make it look nice. You throw out accumulating junk mail, toss some shoes and umbrellas in the closet, and try to come up with an original way to arrange the magazines.
But when everything is more or less as tidy as it could be, sometimes there's still something missing. You begin to look around and wish that you had some elaborate chandeliers, a fountain -- maybe a grand piano with its own pianist.
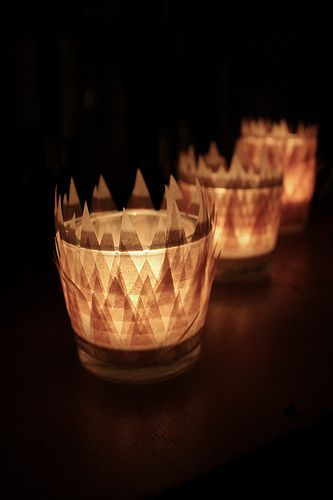
This is when I know it's time to get creative with the resources that I have. Recently, in one of these moments of desperation, I gathered some old 25-cent votives, pulled out a roll of parchment paper, and grabbed a pair of scissors. A few minutes later, I had an array of civilized custom-made lighting fixtures to tuck next to flower arrangements on side tables, between bottles of wine, and around plates of treats.
These would also make fantastic decorations for outdoor parties, or even as hostess gifts. I am fond of the warm glow that comes from the brown parchment paper, but I suspect that using tissue paper in the color of your choice would also have a lovely effect.
More: See Anna's Azerbaijani brunch feast (and DIY pinwheel how-to).

Supplies:
- natural-colored parchment paper
- scissors
- any kind of craft glue (Elmer's is fine)
- an assemblage of little glass votives, jars, or small juice glasses
- tealights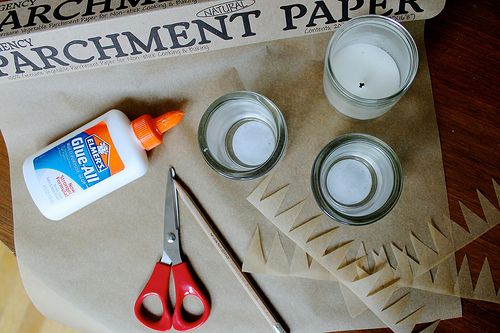
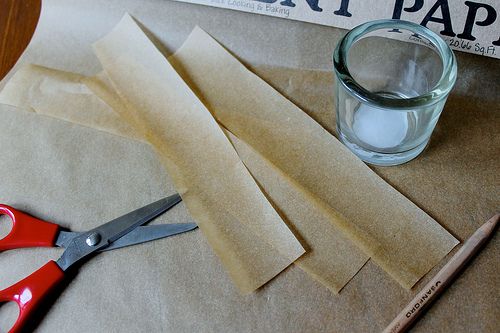
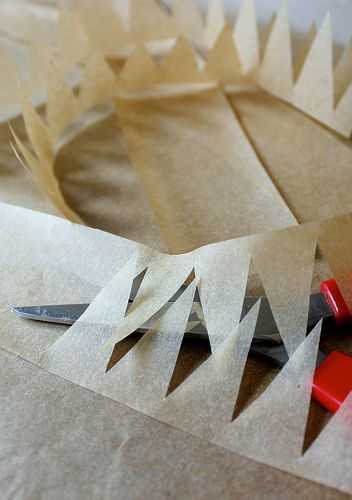
1. Cut parchment paper into strips that are 1 1/2 inches thick and long enough to wrap around the votive with just about 1/4 of an inch overlapping. You'll need about 4 or 5 of these strips for small votives.
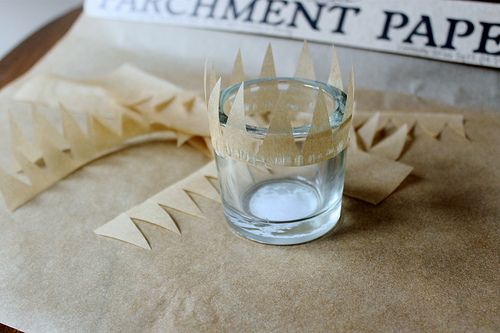
2. Cut each strip in half lengthwise, in a zig-zag pattern, giving each half sharp, pointy teeth. You can draw this zig-zag pattern lightly in pencil before cutting if you'd like, but it's not necessary to make the teeth perfectly uniform.
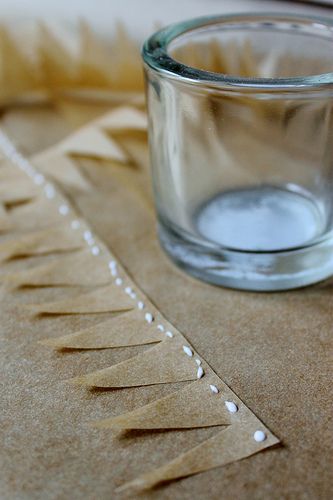
3. Dot some glue along the straight edge of one of these strips, and wrap the paper around the top of the votive, with the straight edge of the strip about 1/2 of an inch below the rim of the glass.
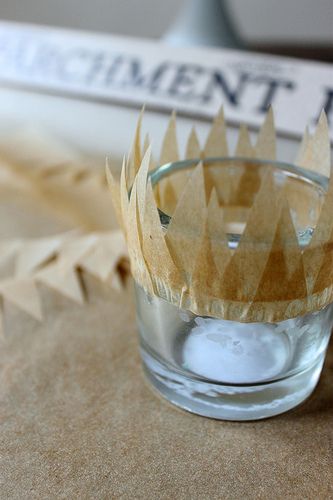
4. Dot some glue along the straight edge of another strip, and add this strip to the glass about 1/4 inch lower than the previous strip, with the teeth filling in the gaps left by the first strip.
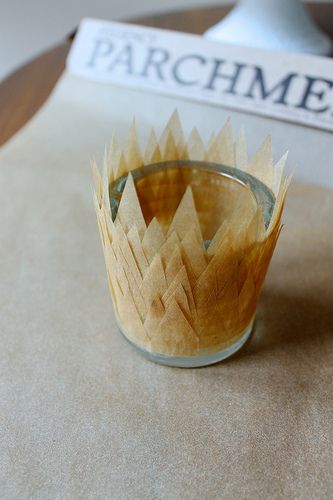
5. Continue to add strips of parchment paper at 1/4-inch intervals until the entire glass is covered. Place a tealight inside, and you're ready to party. If you decide afterwards that you'd like to reuse the glass vessels for something else, just soak them in warm water for a few minutes, and the parchment paper and glue will come off easily.
Got ideas for more parchment votive designs? Let us know in the comments!
Photos by Anna Hezel
See what other Food52 readers are saying.