Every week, a DIY expert spares us a trip to the grocery store and shows us how to make small batches of great foods at home.
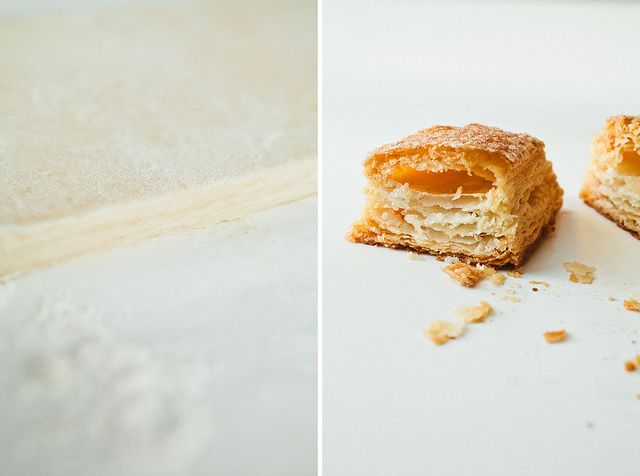
This week, Ashley Rodriguez, of the blog Not Without Salt, shows us a shortcut to perfectly flaky puff pastry.
Puff pastry appears in our kitchen more often than I should probably admit. The last time I was here I taught you how to make butter yourself, so I think it is safe to assume I’m not afraid of it. But what I find so interesting is that even cookbooks and websites that pride themselves on providing recipes with real food and encouraging the cook to be in the kitchen rarely encourage you to make the puff yourself.
Make puff pastry yourself? I’ve probably lost a few of you already but let me say this: folding butter into dough to produce thousands of flaky layers is an experience that every cook should have at least once. And secondly, the recipe I am going to walk you through is a quick version that can be made in under two hours. In fact when in a rush, I’ve done it in an hour, with much of that time given to allowing the dough to rest in the fridge.
Thousands of recipes are made simply and yet carry with them an impressiveness when puff pastry is on the ingredient list. From appetizers to desserts, puff pastry transforms a few ingredients into a heightened and buttery bite that leaves the happy recipients of such a taste in awe of the cook. And yet, it is very hard to find a quality puff pastry in the frozen food section. Many versions don’t contain any butter at all, but rather a fabricated fat that stands in for the butter and is laden with butter flavor. Quality pre-made puff does exist and you should definitely seek that out if making it yourself is out of the question (I’ll still like you, it’s okay), but be prepared to pay a very pretty penny.
Quick puff pastry begins in a way that is similar to making a pie dough. Cold fat is lightly mixed with flour, then ice cold water is added. The difference between quick puff pastry and classic puff pastry lies in the amount of butter (don’t be alarmed at the sight of all that butter) and the way in which the butter is incorporated into the dough.
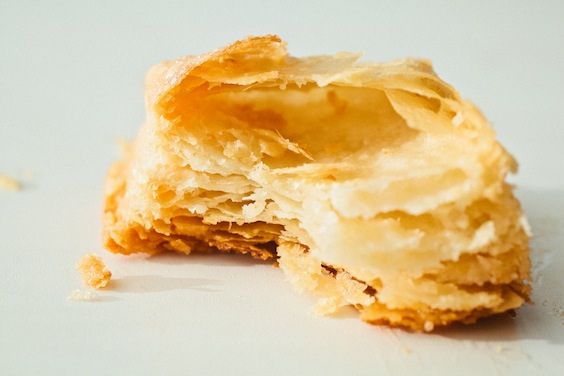
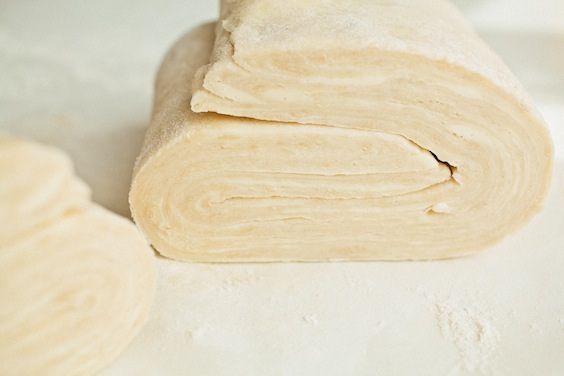
In a classic puff pastry the butter and dough are kept separate and are folded into one another in a series of “turns." Quick puff pastry also utilizes the turning process, but the butter is worked into the dough just a bit before the folding or turning begins. Baked quick puff won’t produce the same perfectly uniform layers you find in a well-made classic puff, but because the butter is worked into the flour, you get a bit of tenderness along with those beautiful flakes.
Once made, the dough can be used immediately or frozen for several months. This recipe makes a lot of dough so I often have plenty for my recipe, then freeze the remaining for a quick pot pie dinner, cookies, or when a buttery snack is in order.
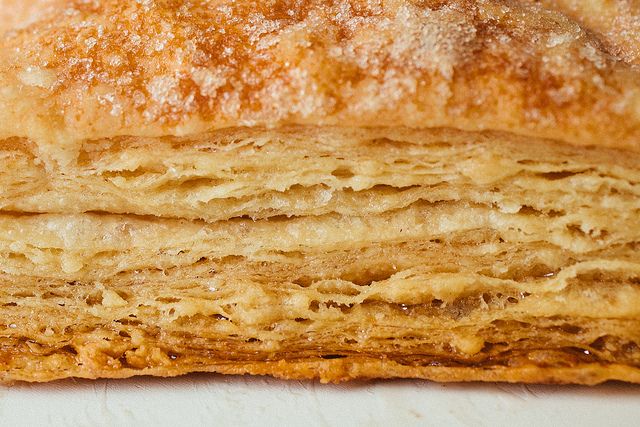
As I said, this dough can be used for everything from appetizers to desserts. I’ve made beautiful puff pastry straws by spreading mustard or parmesan over the dough, then slicing it into strips to bake and serve with a bubbly cocktail. My favorite always impressive yet embarrassingly simple dessert is baked squares of puff sprinkled with sugar. Once they're cool, I layer them with whipped cream spiked with Grand Marnier and orange zest. I garnish with berries and a dusting of powdered sugar.
Quick Puff Pastry
(adapted from Epicurious)
4 cups all-purpose flour
2 teaspoons salt
6 1/2 sticks (3 1/4 cups) unsalted butter, cut into rough 1/2-inch cubes, chilled
1 cup cold water
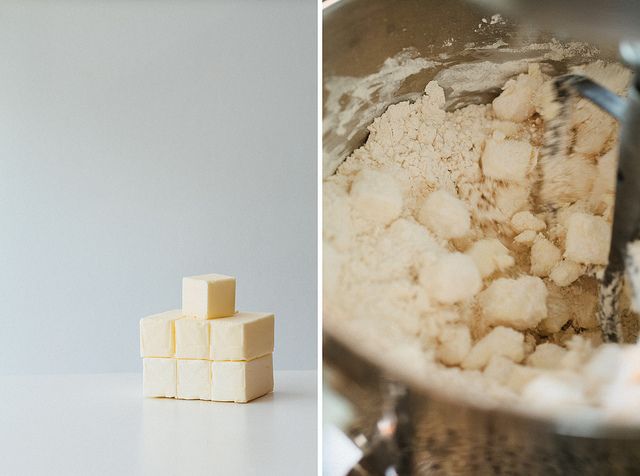
STEP 1: Combine the flour and the salt in the bowl of a stand mixer fitted with a paddle attachment. If you don’t have a stand mixer you can do this by hand, which is the method I used for a long time until I realized how much quicker it is when using the mixer. My favorite tool when I make this by hand is a bench scraper. It’s how I keep the dough together and how I cut up the cubes of cold butter.
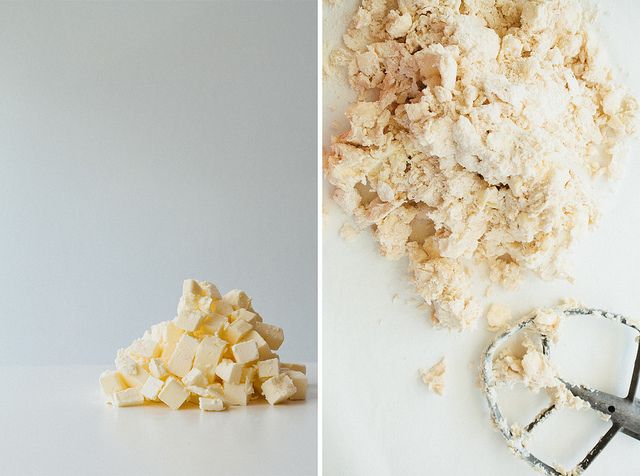
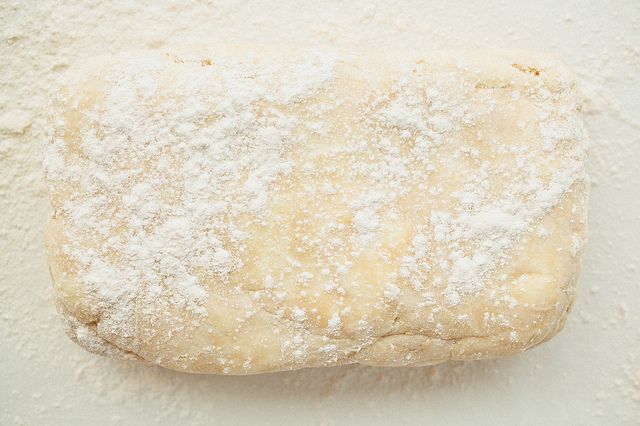
Add all the butter to the bowl at once and mix for 30 seconds on low speed. You want the butter to just start to break up and incorporate into the flour. Add the cold water and mix for 15 seconds. This mix will not look like much of a dough and you may be cursing me for having got you into this mess but I assure you when you pull the puffed piece of dough out of the oven I will be your best friend.
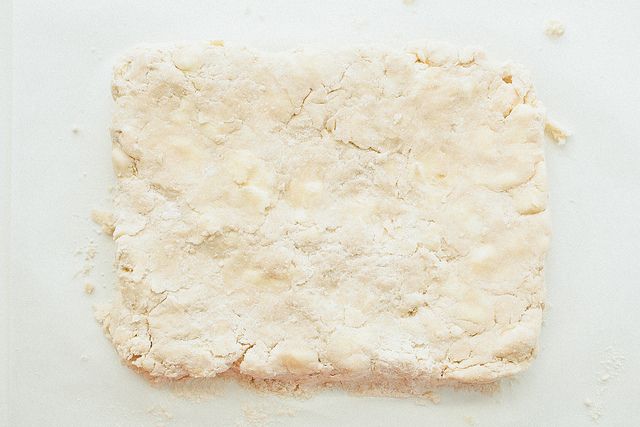
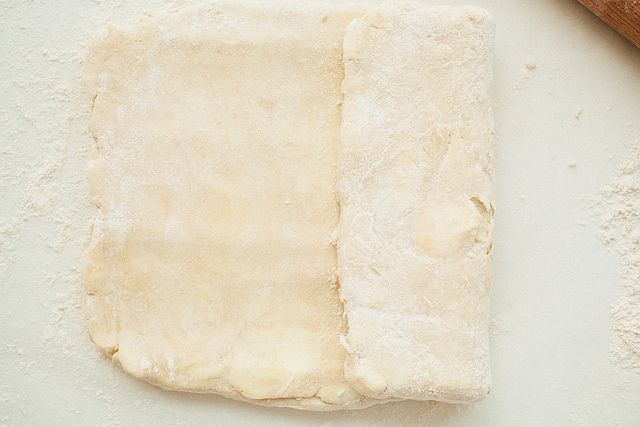
STEP 2: Roughly shape the crumbly “dough” into a rectangle. Fold over the right third of the dough to the center. It will likely fall apart through the first 3 turns, and when it does simply use your hands to press the dough back together. Fold the left two-thirds over the dough and turn 90 degrees. This was your first turn.

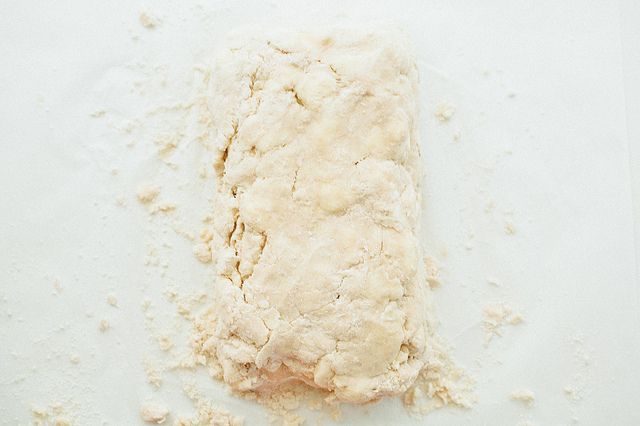
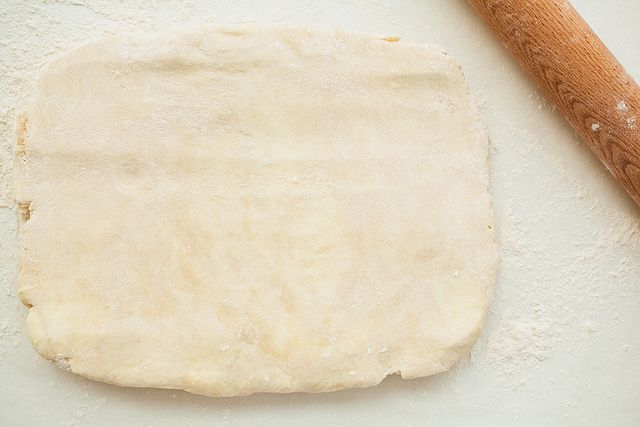
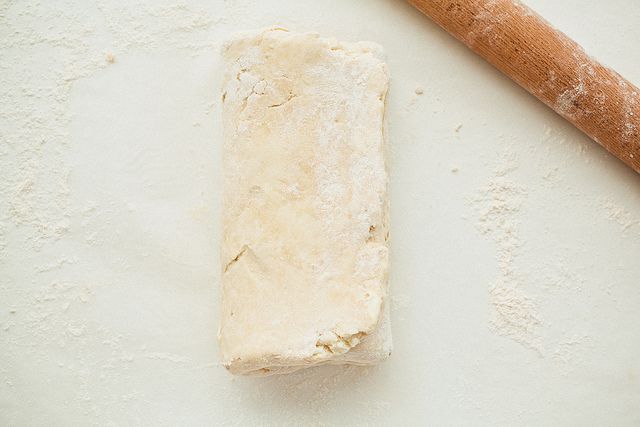
STEP 3: Using the palm of your hands, push the dough back to a flattened rectangle and repeat the process 2 more times for a total of 3 turns. If at any point you feel the butter getting soft or the dough becomes too tough to work with just place it in the fridge to rest for at least 30 minutes.
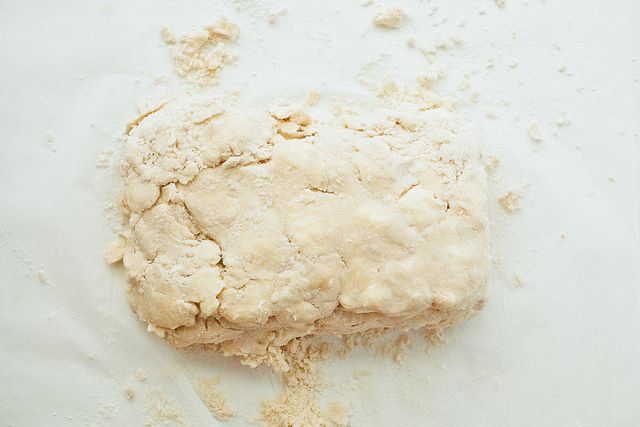
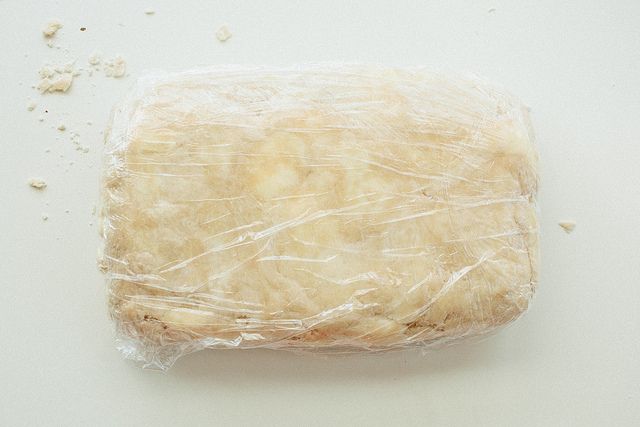
After 3 turns, place in the fridge to rest for at least 30 minutes or up to 1 hour. You can leave the dough at this state overnight if time is an issue -- just let it rest on the counter for 10 minutes to remove the chill from the butter slightly before starting the turning process again.
STEP 4: Once the dough has rested, continue with 3 more turns. After this first rest the water will have hydrated much of the flour and it should resemble a dough. This is when I start to use the rolling pin rather than my hands to work with the dough.
Let rest again for 30 minutes.
At this point your dough is ready to use. Most often recipes call for a sheet of puff pastry. Roll out your dough to ¼ inch thickness and cut to any size that the recipe calls for.
If I’m baking the puff on its own, I always start with a very hot oven (400 degrees F) and ice cold dough (I rest mine in the freezer 10 minutes prior to baking). I let that bake for 20 minutes then turn down the oven and continue to bake for another 20 minutes at 350 degrees F. Otherwise follow the recipe instructions for the specific recipe you are using.
I do hope you try this recipe. For me it is such a thrill every time I cut into the dough after the last turn. I take a moment to revel at the layers of butter sandwiched between the dough. This recipe always reminds me why I love baking -- a few simple ingredients are brought together in a certain way to produce something that draws me to the oven door to watch it rise and flake, and with one bite I’m left in a giddy, buttery glow.
See what other Food52 readers are saying.