Inspired by conversations on the FOOD52 Hotline, we're sharing tips and tricks that make navigating all of our kitchens easier and more fun. Since we're fine-tuning our recipe writing this week, we thought it'd be nice to talk about food styling and photography. Today, a lesson in food photography.
Now that we've discussed food styling, it's time to pick up your camera.
Before you click that pic, take some time to familiarize yourself with the basic functionality of your camera. Terms like shutter speed, f-stop, exposure, and depth of field sound like intimidating photographer jargon, but they are all integral to the process of producing great photos. Learn what they mean, and more importantly, how tinkering with their settings affects your shots.
Wise words:
"When hand-holding the camera, make sure your shutter speed is greater than, or equal to your focal length. If you are shooting at 50mm, your shutter speed should be at least 1/50th of a second (or 1/60th). This will help keep camera shake (movement/blur) down to a minimum." --James Ransom
"Shoot lots of pictures, not all on the same camera settings. It's not like you are actually paying for film. And make sure what you want to be in focus is." --Tom Hirschfeld
Does any of this sound too advanced for the camera you have? Here's what Tom Hirschfeld has to say about the matter:"You don't need a two thousand dollar camera to take great photographs. Many of my favorite pics have been taken with an iPhone and a really old Nikon Cool Pix."
Fancy camera or not, these tips from our resident experts will help you improve your food photos.
Use natural light: This is the number one tip you'll hear from food photographers. Even the most expensive equipment can't replicate how food looks in natural light. So get your plate next to a window or take it outside, but just be aware of the time of day: how you harness natural light (especially bright, direct sunlight) will have a major impact on the outcome of your shot.
Wise Words:
"Believe it or not, shooting on a cloudy day is best because the clouds act as a natural diffuser for the sun, creating a very soft light us photographers swoon over. Also, try not to shoot at peak sun hours; the harsh sun can create serious contrast. Best done in the late afternoon or morning." --Nicole Franzen
"Food usually looks its best in directional light, where you can see a definite shadow. If the light is dead there is a good chance the food will look dead too." --James Ransom
"Reflecting light can be done as easily as buying a foam-core poster board. If you are witnessing dark shadows, use the board to bounce the light back into the dish. This creates a more even-toned soft light. Play around, no better way to learn than by practicing and comparing." --Nicole Franzen
"If you don't have a lot of light, consider using a tripod to avoid having to use artificial light." --Jennifer Causey
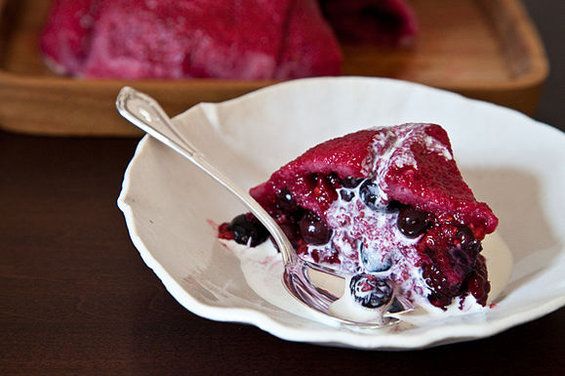
Find your focus: Along with lighting, focus is a critical piece involved in creating interest in your food photography. As you peer through your lens, ask yourself this: Do I want to draw the eye to a single point of focus and leave the rest blurred? Or do I want a crisp, clean shot with every detail in focus? Your aperture settings and depth of field will have a big impact on the mood you set with your photograph.
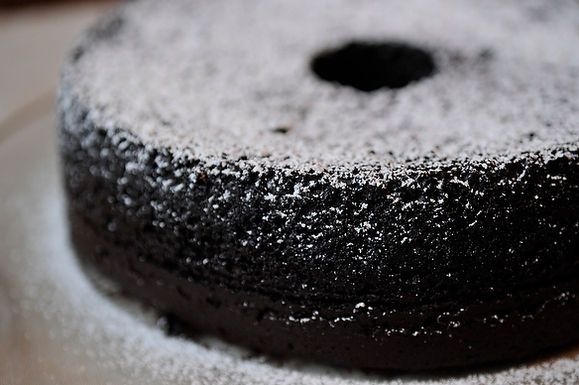
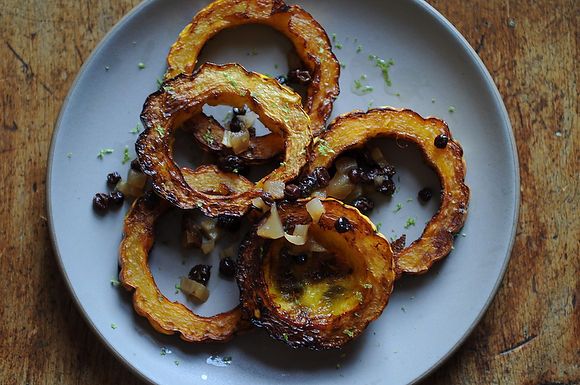
Note the softness created by a shallow depth of field in the shot of the bundt cake, compared to the crisp, fully-focused shot of the delicata rings.

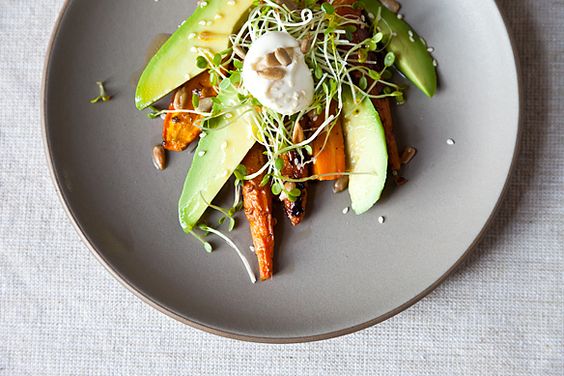
Choose a vantage point: You've seen how photographers do it: work those angles! Don't settle for shotting from a single direction -- play around with overhead versus eye-level; up-close and from afar. Move around the food and think about angles that will best show off the subject.
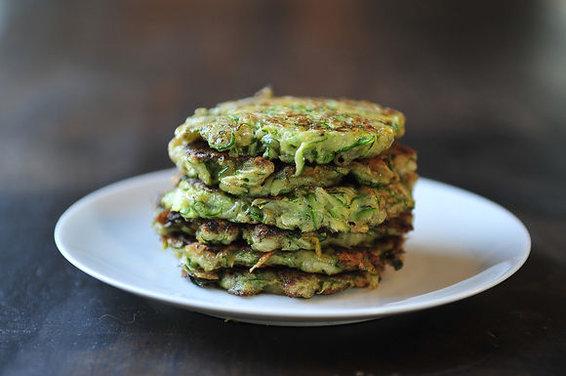
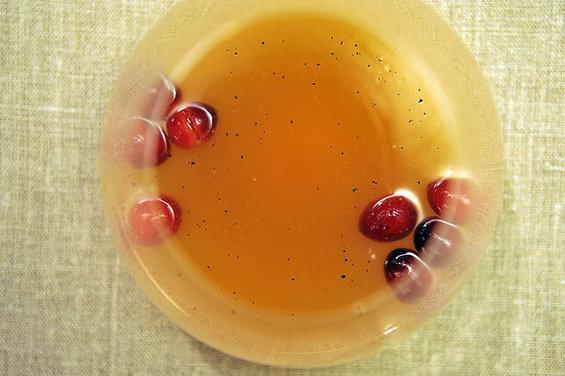
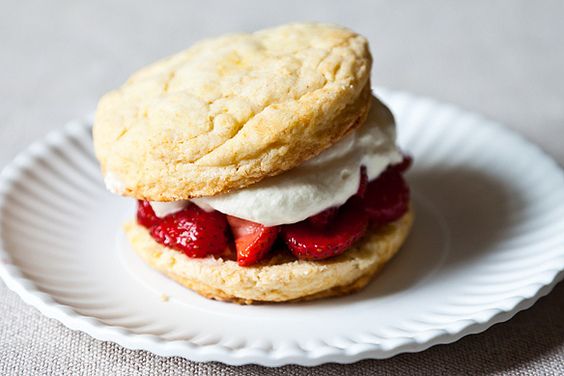
Some types of foods look great stacked and shot from the side (aka "fork level") -- ie. cookies, sandwiches, pancakes. Others benefit from an overhead angle, including soups, drinks, and dishes that are physically flat.
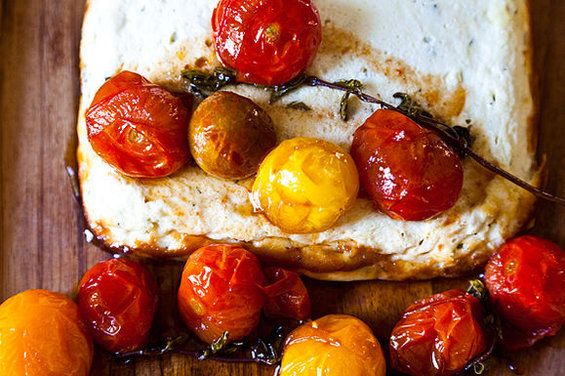
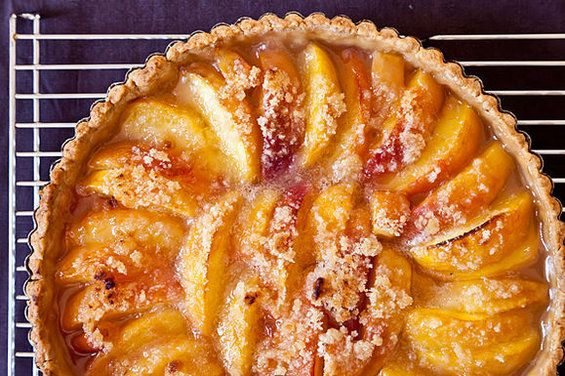
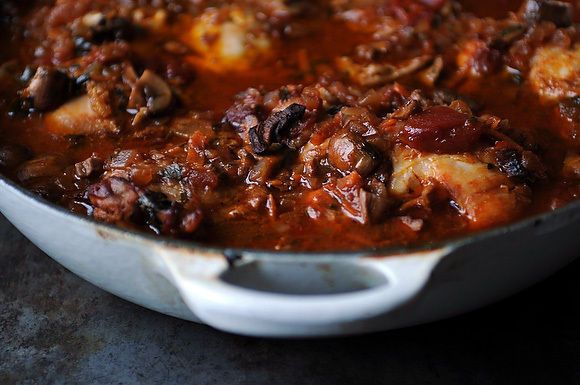
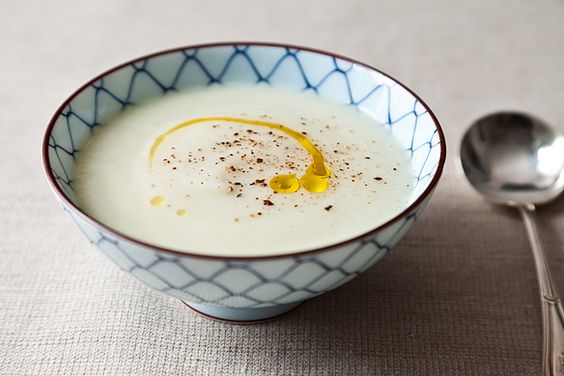
Some foods (delicious though they may be) just aren't as naturally photogenic as others. Single-color dishes are notoriously bland-looking -- especially brown and white ones. Don't despair if you find yourself with "uglier" grub! Rather than try to frame the entire dish in the shot, take the opportunity to get in close and show off the unique textures of the ingredients.
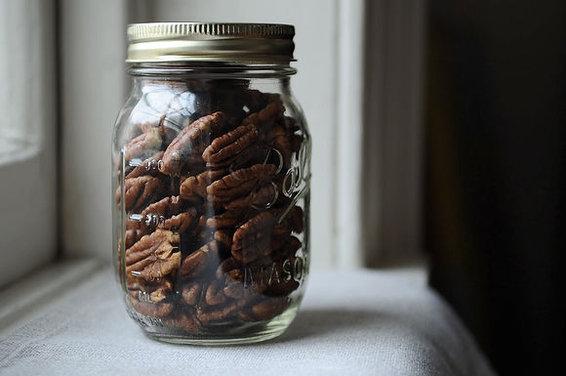
Or, spruce it up with a fancy piece of serveware, which can be a simple way to accessorize a humble dish.
Written by: alasully
Popular on Food52
4 Comments
Best,
Conor
See what other Food52 readers are saying.