As home cooks, we rely on our instincts, our knowledge, and our curiosities -- but we also have to rely on our tools. Which is why we're asking the experts about the essential tools we need to make our favorite foods attainable in our own kitchens.
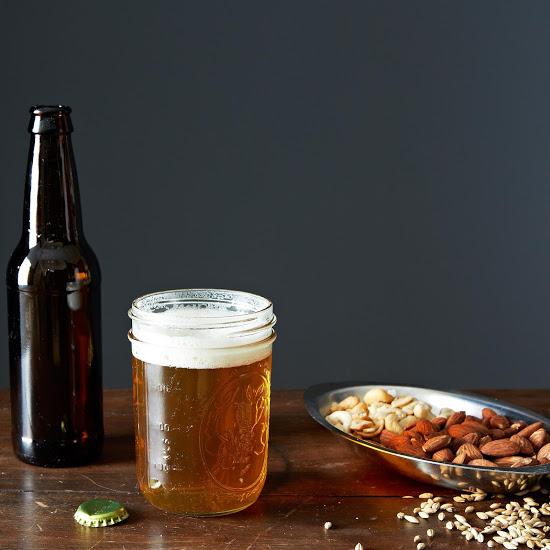
Today: Ted Bruning and Nigel Sadler’s book, Wisdom for Home Brewers, is chock-full of 500 tips and recipes for brewing better beer. Here, Nigel whittles down his list of favorite gadgets to the 10 most essential.

As with any hobby or interest from golf to baking, the general rule is the more you spend, the better the quality. The same goes for brewing beer. Spending a few extra dollars on your tools really can help the process and, ultimately, the end product. That’s not to say any of the items are too expensive, nor are they hard to find -- in fact, almost all of these items can be purchased on Amazon or at home brewing supply stores like Midwest Supplies or Northern Brewer Homebrew Supply.
Here are the 10 items every brewer needs:
1. Hot liquor tank (H.L.T.)
This vessel holds the hot water that will eventually become beer. Get one that is at least twice as big as your brew length and has good insulation and thermal control. You’ll always need more hot water than you think, whether it's for brewing or for cleaning at the end of the day!
2. A well-insulated mash/lauter tun
This vessel is where you’ll infuse grains. Maintaining temperature is key -- a tun that drops more than 3.6° F over an hour is really not good enough -- so it’s important to get a well-insulated one. It’d be great if you can get one with a slotted, removable bottom for wort separation and a good-quality steel faucet for controlling flow on the outlet.
More: Five beer-brewing terms you should know (including mash and wort).
3. A well-made and supported sparge arm
This sprinkles water over the grain bed for lautering. The best ones are stainless steel with fine, evenly spaced holes to ensure a light, effective spray pattern on the mash bed. Check that the bearing spins freely.
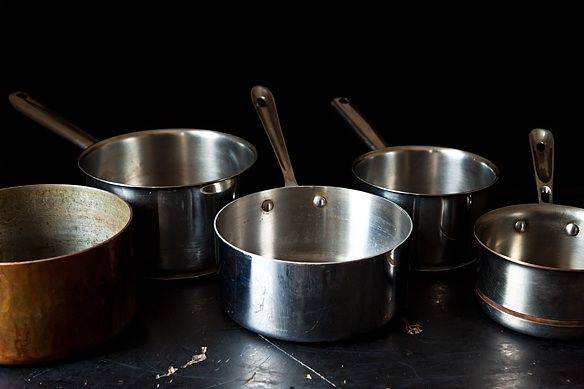
4. A solid stainless steel pot
Look for the same things you would if using the pot to cook. You want an even heat transfer to avoid scorching during boiling, which might lead to heavy caramelization and subsequent burning. Heavy-duty handles are a must, and enamel pots are a good option because they won’t stain or wear quickly. For those using electric boilers, make sure it’s up to the job and has a form of temperature control built in. Again, good faucets are beneficial. Remember to allow at least 30% head space (for example, if you're boiling 40 pints of wort, allow for a 520-pint capacity).
More: Just in case, here’s how to rid your pot of burnt spots.
5. Wort chillers
These come in all shapes and sizes; one of the most common shapes is the immersion coil, which is usually formed from copper tubing and is good enough for most small-scale operations. However, a countercurrent chiller is certainly better for 80- to 100-pint brew-lengths -- plus, it has the advantage of feeding back into your H.L.T., if desired. It’s extremely important to properly clean countercurrent chillers, and it really needs to happen as soon after the transfer of wort to the fermenter as possible. And always remember to sterilize any cooling system thoroughly before using.
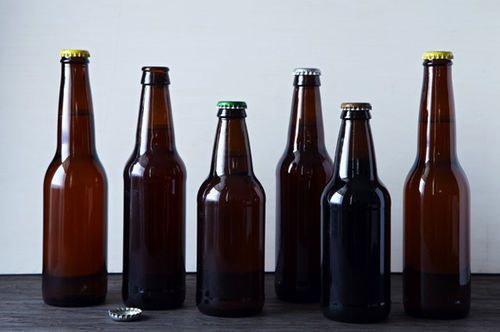
6. Fermenters
These come in a variety of styles, the traditional plastic bucket being the most common. I prefer to avoid glass demijohns (carboys), as they can be difficult to clean. It’s better to use what most professional brewers use: stainless steel fermenters. They’re expensive but very durable and easy to clean. Many now come with a conical or dish bottom with raised outlets that allow any yeast and trub (sediment left in the fermenter after fermentation) to settle below the racking-off faucet.
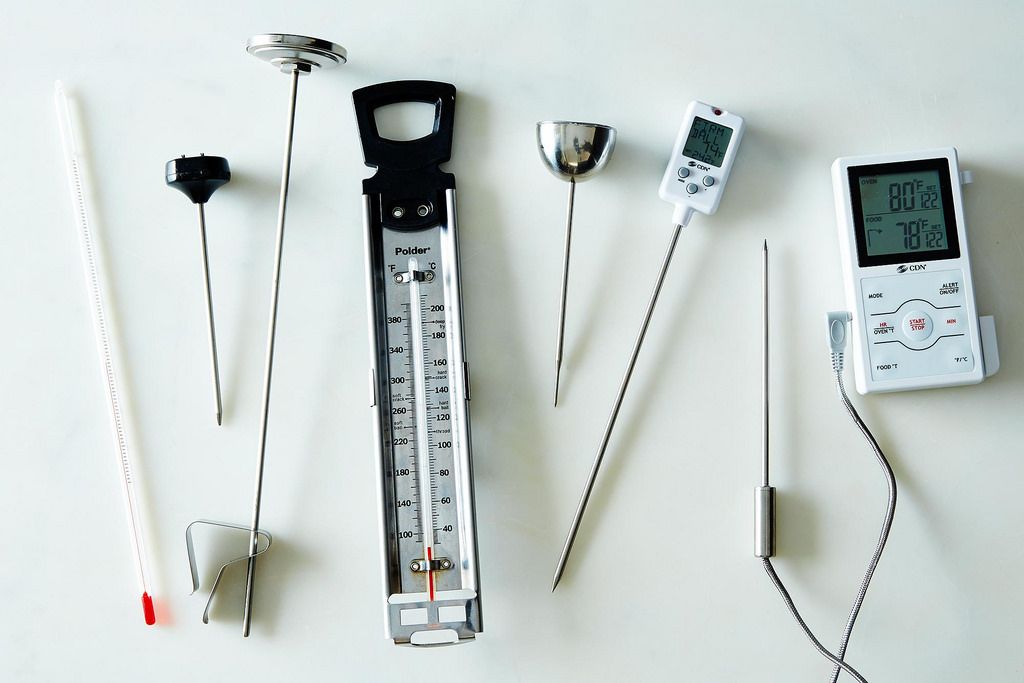
7. A quality digital thermometer
A thermometer with a separate waterproof probe is far safer and more accurate than a glass one -- being able to insert the probe down inside the mash tun will enable you to see if there’s any temperature difference between the top and bottom of the mash. Seek out a thermometer at your heating supply store, and expect that a good model might cost between $50 to $60.
More: Take care of your thermometer -- make sure it’s accurate from the get-go.
8. A good digital pH meter
As with the thermometer, a good digital pH meter is a definite plus. While pH test strips are good, they are sometimes not accurate enough. Digital models aren’t cheap, but they're much more effective than test strips. Avoid the cheaper models from garden supply stores -- they typically aren’t accurate enough for brewing. Also remember to purchase appropriate buffer solutions and keep the probe calibrated, preferably weekly.
9. A handheld refractometer
This will give you good, general gravity readings. They’re not expensive -- though high-end digital versions are available. Expect to spend $50 or so.
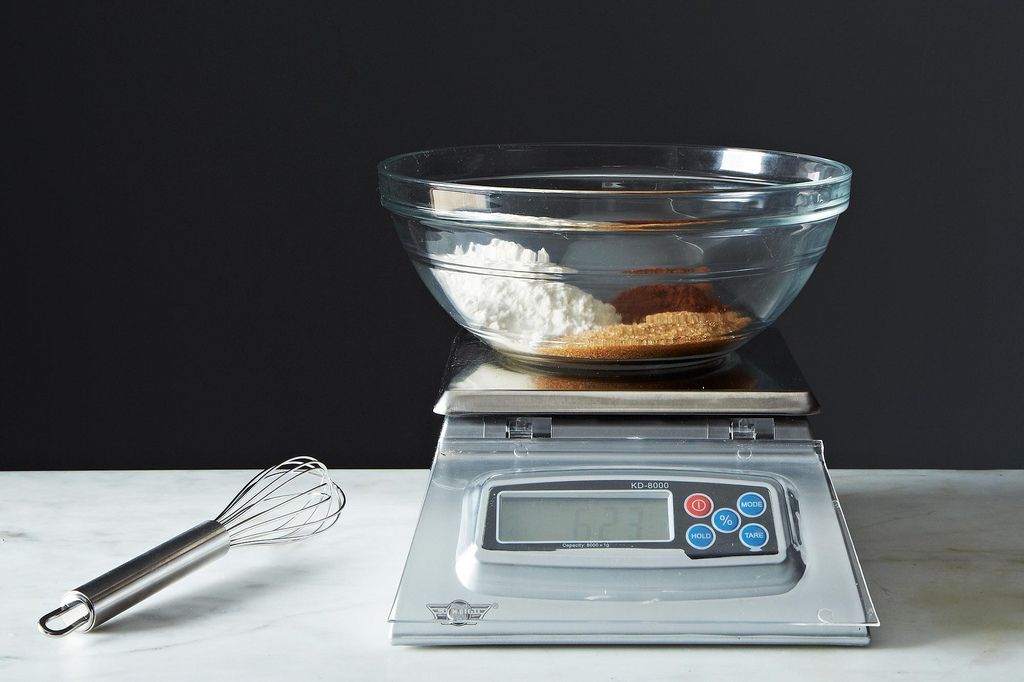
10. Measuring equipment
It’s important to accurately measure both liquids and solids. With calibrated jugs, test cylinders, and weighing scales, you’ll be able to measure precise quantities. Glass needs to be kept away from the actual brewing in case of breakage. Digital scales should read in 1-gram increments, be of sufficient size, and be solid enough to take weights of up to 6 pounds at a time.
Do you like IPAs, Hefeweizens, or stouts? Or are lagers and pilsners more your speed? Let us know in the comments!
See what other Food52 readers are saying.